Superior woodworking strategies preserve time, income, and annoyance. They stop guesswork, guideline your cuts, and keep the Create sq.. In straightforward phrases, a woodworking plan is a clear set of drawings, lists, and techniques that show you what to create and how to Construct it. This guidebook demonstrates tips on how to pick the appropriate strategies, read them, customize them, and come across reliable resources it is possible to rely upon. We're going to include strategy areas, precision tips, scaling and printing, plan varieties, smart selection, shop workflow, and Group.
What exactly are woodworking options and why they issue for clean up, correct builds
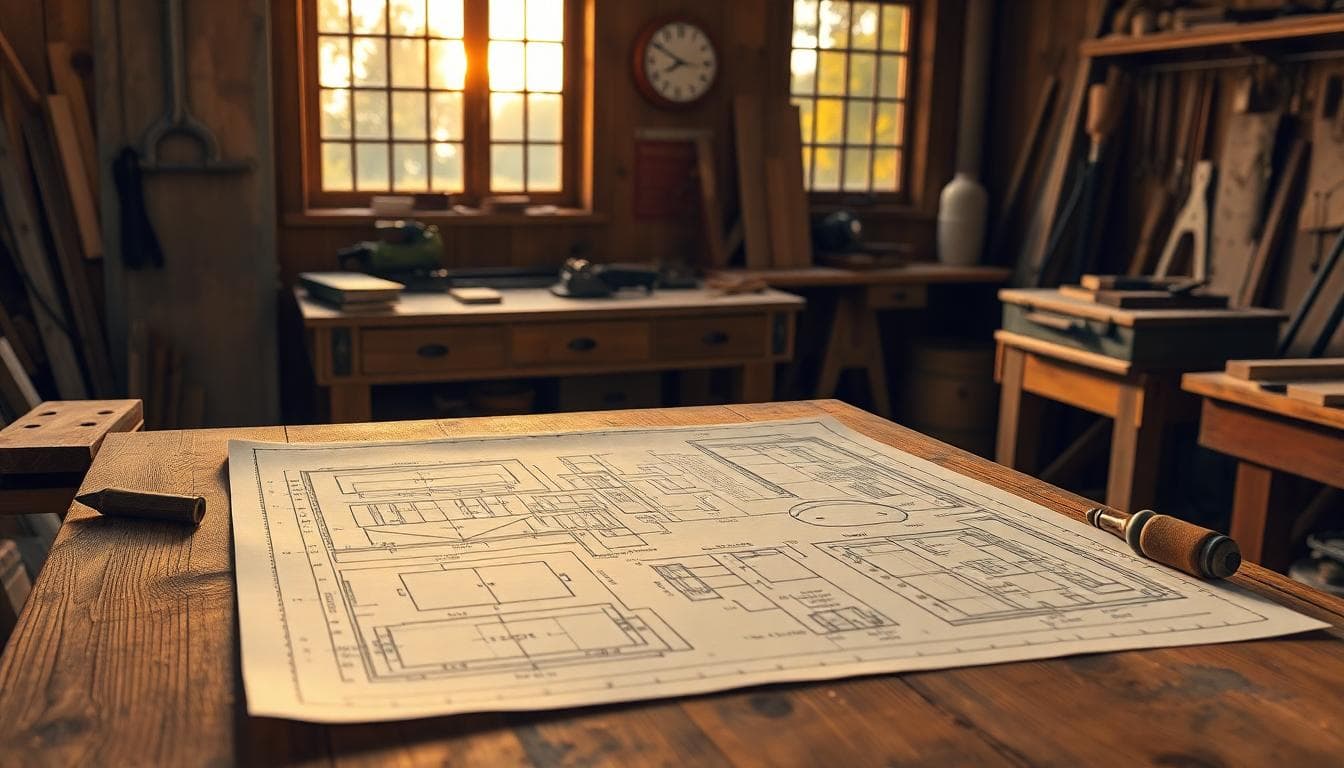
A woodworking system is actually a blueprint for your job. It lets you know what areas for making, how huge They may be, how they suit alongside one another, as well as purchase to develop them. a great plan lessens problems, will give you a transparent path, and makes greater effects.
Accuracy matters. Small glitches stack up and bring about gaps, twist, and out-of-square assemblies. A strategy sets dimensions and joinery that limit Individuals problems. You abide by a tested path as an alternative to inventing the process every time.
a whole program ordinarily includes drawings from quite a few angles, a cut record for all areas, a fabric list, and move-by-stage Guidelines. every bit supports the Other individuals. The drawings assist you to see The form and scale. The Minimize checklist hurries up milling and retains your inventory structured. The material checklist aids you purchase the proper degree of Wooden and hardware. The techniques guide the order so glue-ups and assemblies go smoothly.
designs cut costs too. you purchase only what you need, you cut down wasted Wooden, and also you stay clear of extra journeys for lacking components. Most strategies also list the required applications, which allows you choose In case the build suits your shop.
In brief, woodworking strategies Provide you clarity, fewer surprises, and a cleaner Construct. you will get predictable parts, tighter joinery, and safer, calmer store time. With a approach to the bench, your tape measure and equipment eventually have one supply of real truth.
Parts of a woodworking prepare described
Overview: A short description in the job and the final measurement.
Device record: The applications desired to complete the build, not each individual Resource you personal.
substance checklist: Wooden, plywood, and hardware with measurements and quantities.
Cut checklist: Every element with size, width, and thickness.
Scale drawings: Views from leading, entrance, and side with essential Proportions.
Exploded look at: A blown-aside drawing that reveals how components fit.
Joinery details: Notes for pocket holes, dado, rabbet, dowels, or mortise and tenon.
Hardware callouts: Screws, hinges, pulls, and their placement.
move-by-stage Directions: The Develop buy, from milling to finish.
Accuracy, tolerances, and protecting against squander
modest mistakes compound. A board 1⁄sixteen inch short can power a niche later. Two small angles off by a hair can create a twisted body. Tolerance indicates the amount of size or angle will vary and still in good shape effectively. Plans define these targets so components match.
programs minimize waste by standardizing components and joinery. you chop after, test when, and repeat with self confidence. easy patterns preserve you on track:
Mark centerlines on pieces and templates.
Use Tale sticks for recurring measurements.
Make exam cuts on scrap prior to touching very good inventory.
Label every single component as soon as you chop it.
look for squareness through glue-ups that has a dependable sq. and by measuring diagonals. give thought to seasonal Wooden motion. Boards grow over the grain. Use slots for screws the place essential, and steer clear of trapping panels. The program will normally clearly show these reduction regions so your Make lasts.
Imperial vs metric, scale, and printing strategies
If a system is in inches, you could change to millimeters. One inch equals 25.four millimeters. fast tip: multiply inches by 25.4, or divide millimeters by 25.four to obtain inches. For tough mental math, one mm is about 1⁄twenty five inch.
Drawing scale tells you how the drawing measurement compares website to the real sizing. A one:two scale signifies the drawing is fifty percent dimensions. entire-measurement templates, called 1:one, are greatest for curves and complex sections. Print templates at 100 percent scale, then Look at a printed ruler box with a true ruler.
When printing tiled webpages, convert off fit-to-website page, tape edges carefully, and align registration marks. Grid paper will help lay out parts or prepare a custom made sizing. as you validate scale, trace templates or use spray adhesive to stay them to plywood.
typical approach styles: furniture, store jigs, and outside projects
home furnishings options cover pieces just like a coffee desk, bookcase, or mattress frame. They target look, comfort, and very long-phrase toughness. Wood choice leans to hardwoods, like oak, maple, or walnut. Finish typically consists of stain or obvious coat for any clean, long lasting surface area.
store jig options help you're employed safer and a lot quicker. illustrations incorporate a crosscut sled, a taper jig, or a drill press table. These favor stable plywood, simple joinery, and sensible components. complete can be gentle, such as a coat of shellac or wax, to cut back friction.
Outdoor designs incorporate a planter box, an Adirondack chair, or simply a picnic desk. These will need temperature-resistant product. Cedar, redwood, treated lumber, or exterior plywood are popular. end ought to be exterior-grade paint or out of doors oil. Stainless or coated screws assist prevent rust.
the way to choose the appropriate woodworking plans on your talent, equipment, and spending budget
selecting the proper approach sets the tone for The complete venture. Match the want to your ability stage, the instruments you personal, and also the time and cash you ought to commit. seek out very clear drawings, a clean up Lower list, and realistic joinery. steer clear of programs that have to have huge equipment you do not have Until You will find a Secure workaround.
Test the joinery complexity. Pocket screws and butt joints Make fast. Mortise and tenon and dovetails acquire extended and want far more precision. ensure that the plan’s joinery matches your consolation degree or allows you master one particular new skill devoid of overpowering you.
Scan the fabric listing to estimate Price. increase a waste factor of 10 to fifteen per cent to deal with defects, grain matching, and errors. Time estimates may be tricky. additional elements typically suggests more time. Think about milling, sanding, end, and hardware install, which regularly consider extended in comparison to the cutting and assembly.
quick checklist:
ability healthy: One new approach per venture is adequate.
Device match: You can do all ways with your applications, or use Secure swaps.
Time and cost: price range for components, finish, and no less than one extra trip.
Clarity: Drawings, ways, and Slice record are complete and easy to follow.
assistance: The prepare has notes, shots, or even a tested Create.
Match skill stage and joinery to what you understand
problems labels enable. rookie woodworking options frequently use butt joints, brad nails, and pocket screws. These go collectively promptly and educate measuring, chopping, and sq. assembly.
Intermediate ideas include dados, rabbets, and dowels. They boost power and alignment. you'll need a router, a table noticed, or careful hand Software operate.
Advanced ideas use mortise and tenon or dovetails. they supply leading energy plus a common seem. master just one new procedure per undertaking, not 5. That retains progress continual and tension very low.
Check out Instrument list and shop Room before you start
Scan the Instrument listing for must-haves. several designs demand a desk noticed, miter saw, router, planer, drill press, and many clamps. it is possible to swap a round observed with a guide keep track of for a desk noticed on straight cuts. A hand aircraft can stand in for a planer on little components if you're employed with tolerance.
take into consideration Place. Panel glue-ups want place and flat surfaces. strategy your assembly spot so you can clamp from all sides. Dry runs make it easier to Examine reach, clamp rely, and crystal clear paths.
Estimate wood Value and Make time through the approach
Use the material listing to price lumber and plywood. Test nearby yard costs and Be aware species, quality, and board footage. incorporate 10 to 15 % waste to every estimate. continue to keep a simple spending budget sheet with Wooden, components, finish, and sandpaper.
Time grows with component rely and complexity. A frame with mortise and tenon requires for a longer period than pocket screws. Hidden time sinks consist of sanding, complete drying, and hardware structure. incorporate a buffer for anyone ways so the task tempo feels quiet in lieu of rushed.
Beginner-helpful woodworking programs you'll be able to Develop this weekend
Allow me to share fast wins that Establish techniques with no hefty tools:
job Wood form Joinery Time Window ability Benefit
slicing board Maple or walnut Edge glue, no screws two to 4 hours Milling straight edges, glue Manage
easy wall shelf Pine or poplar Pocket screws two to three hours Level structure, stud locating, anchors
Planter box Cedar Brad nails, screws three to five hours out of doors assembly, exterior end
Shop stool building 2x Pocket screws 3 to five hrs Leg alignment, seat comfort
Shoe rack Plywood Dados, screws 4 to 6 hours standard scenario joinery, shelf spacing
Plywood workbench Plywood and 2x Screws, glue 1 day Flatness, clamping, heavy-responsibility Develop
choose one particular, Assemble components, and deal with clean structure and square assembly. Your self confidence will develop rapid.
ways to browse and use woodworking ideas comprehensive within the shop
A simple workflow retains you Risk-free and on track. start out by looking at all the approach. Mark important notes, spotlight joinery, and checklist any issues. Lay out your cut checklist and group parts by thickness. Mill stock in batches, then Lower to ultimate size and width. Dry in shape assemblies before glue. Sand in levels, then finish and install components.
continue to keep a pencil, a pointy knife, and painter’s tape handy. Mark experience sides and confront edges. Label each and every portion as you narrow it. operate from big assemblies to tiny. thoroughly clean the bench between ways so sections don't get mixed or harmed.
Safety initially. Wear eye and ear security. Use thrust sticks and featherboards. under no circumstances freehand over a desk saw. If a action feels unsafe as part of your shop, alter the approach.
Decode drawings, symbols, and callouts
Drawings demonstrate sights you would see if you glimpse from above, from your entrance, or in the side. a piece see cuts through the part to point out hidden aspects. An exploded check out reveals each bit pulled apart so you can see how they fit.
widespread symbols: a diagonal arrow or lines can point out grain way. A countersink image shows where by screw heads sit under the floor. An R right before a selection marks a radius for rounded corners.
Callouts and notes generally contain S4S, which means surfaced on 4 sides, and FAS, a high quality for hardwood. Nominal measurements, like a 2x4, usually are not the actual sizing. A 2x4 normally steps 1.five by 3.5 inches. ideas may well list both of those to stop confusion.
Build a Lower listing and improve plywood and board layout
Copy the program’s cut list and group by thickness and species. that assists you mill in batches. On plywood, attract comprehensive layouts to follow the grain and stay clear of knots or defects. preserve parts that present on the exact same sheet for colour match.
generate guidelines:
Rip very long elements to start with, then crosscut to size.
Nest compact sections in offcuts.
hold manufacturing facility edges for reference on straight cuts.
Mark arrows for grain on each individual element.
Simple Lower listing applications can help, but graph paper works great. The objective is reliable sections and less outings back again to The shop.
Dry in good shape, glue-up purchase, and clamping strategy
Dry fitting confirms that parts seat thoroughly and sq.. prepare the sequence. Construct sub-assemblies to start with, including confront frames or drawer containers, then be part of them to the principle case.
Clamp recommendations:
Use cauls to unfold stress and safeguard faces.
Check out diagonal measurements to substantiate sq..
Wipe glue squeeze-out instantly that has a moist rag.
Know your glue’s open time and set a timer.
Lay out clamps and sections before you decide to open the bottle. Label corners and use registration marks so pieces go back in the identical location all through glue.
ending schedule, sanding grits, and hardware install
a straightforward finish plan retains results clean:
split sharp edges with a lightweight move.
Sand to 120, then 150, then 180.
Remove dust by using a vacuum and tack fabric.
implement stain or sealer, then a clear topcoat.
check coloration on scrap through the identical board. For components, drill pilot holes to stay away from splits. utilize a combo sq. to put out hinge gains and manage spacing. set up pulls and knobs following the complete cures to stay away from smudges.
Where to search out, customize, and Arrange woodworking designs
very good designs come from both equally no cost and compensated sources. free of charge plans enable you to get going fast. paid out options generally include things like further detail, assembly pictures, and support. select resources that clearly show Create pics and crystal clear drawings. When you need a dimensions improve, find out how to scale without having breaking proportions. keep the strategies structured in order to rebuild or tweak later.
Best resources without spending a dime and paid out woodworking options
totally free sources:
Ana White
Instructables
loved ones Handyman
maker web-sites like Rockler and Kreg
Paid resources:
wonderful Woodworking
Woodsmith
well-known Woodworking
Individual designers on Etsy and Gumroad
With paid ideas you regularly get tested builds, clearer drawings, measured templates, and valuable email assistance. Free strategies differ in good quality. browse remarks and Check out shots prior to deciding to commit.
Customize ideas with SketchUp or paper, resize devoid of surprises
When resizing, maintain proportions constant. improve a person primary dimension at any given time, such as width, then change associated areas. Match the plan to the lumber thickness You should buy. In the event the strategy requires 1 inch thick components and you've got three⁄four inch, regulate joinery depth and hardware.
SketchUp Principles aid quite a bit. Make Each and every part a component, name it, and insert actual measurements. Use scenes for various sights. Measure Total measurement right after adjustments to confirm in shape.
like paper? Redraw key parts on graph paper in a reliable scale. Update the Minimize record when you go. Look ahead to ripple outcomes when switching thickness. a little adjust in leg dimensions can have an impact on rails, panels, and components gaps.
Printable PDFs, templates, and CNC information, the best way to use them
Print full-dimensions styles at 100 percent. Verify scale having a one inch box over the web page. Cut near to the road, spray mount to plywood or MDF, then bandsaw and sand to the road. For identical sections, make one grasp template, then use a flush trim little bit using a bearing to copy it.
Digital data files like DXF or SVG do the job with CNC routers and lasers. Label parts on the sheet and keep a learn copy unchanged. back again up information inside a venture folder with notes.
Organize your strategy library and track revisions
develop a folder system by style: furnishings, Jigs, Outdoor, store Storage. Use distinct file names with size and Model, for example, Bookcase_36in_v2_2025-ten. Keep a Establish log with changes, little bit measurements, fence settings, and end formulation. retailer receipts, Slice lists, and shots in the same folder. Sync to some cloud company for backup.
Know the license, are you able to promote That which you Establish?
Some programs are for private use only. Other people enable advertising finished pieces. seek out license notes about the plan site. If unclear, request the designer. comply with terms for credit history when demanded. Respecting licenses supports the makers who develop top quality plans.
summary
The right woodworking designs Provide you clarity, precision, and also a clean Create. Choose a program that matches your competencies and tools, study it thoroughly, customise if needed, and observe a clear workflow from milling to finish. decide one particular rookie job within the list and begin this weekend. Download the printable checklist for selecting and making use of plans, then tape it for your shop wall. Make with treatment, discover 1 new ability at a time, and revel in the method.